Thursday, November 19, 2009

Mosaic Coffee Tables from Eitz Hadar Woodworks

(click images to enlarge)

(click images to enlarge)
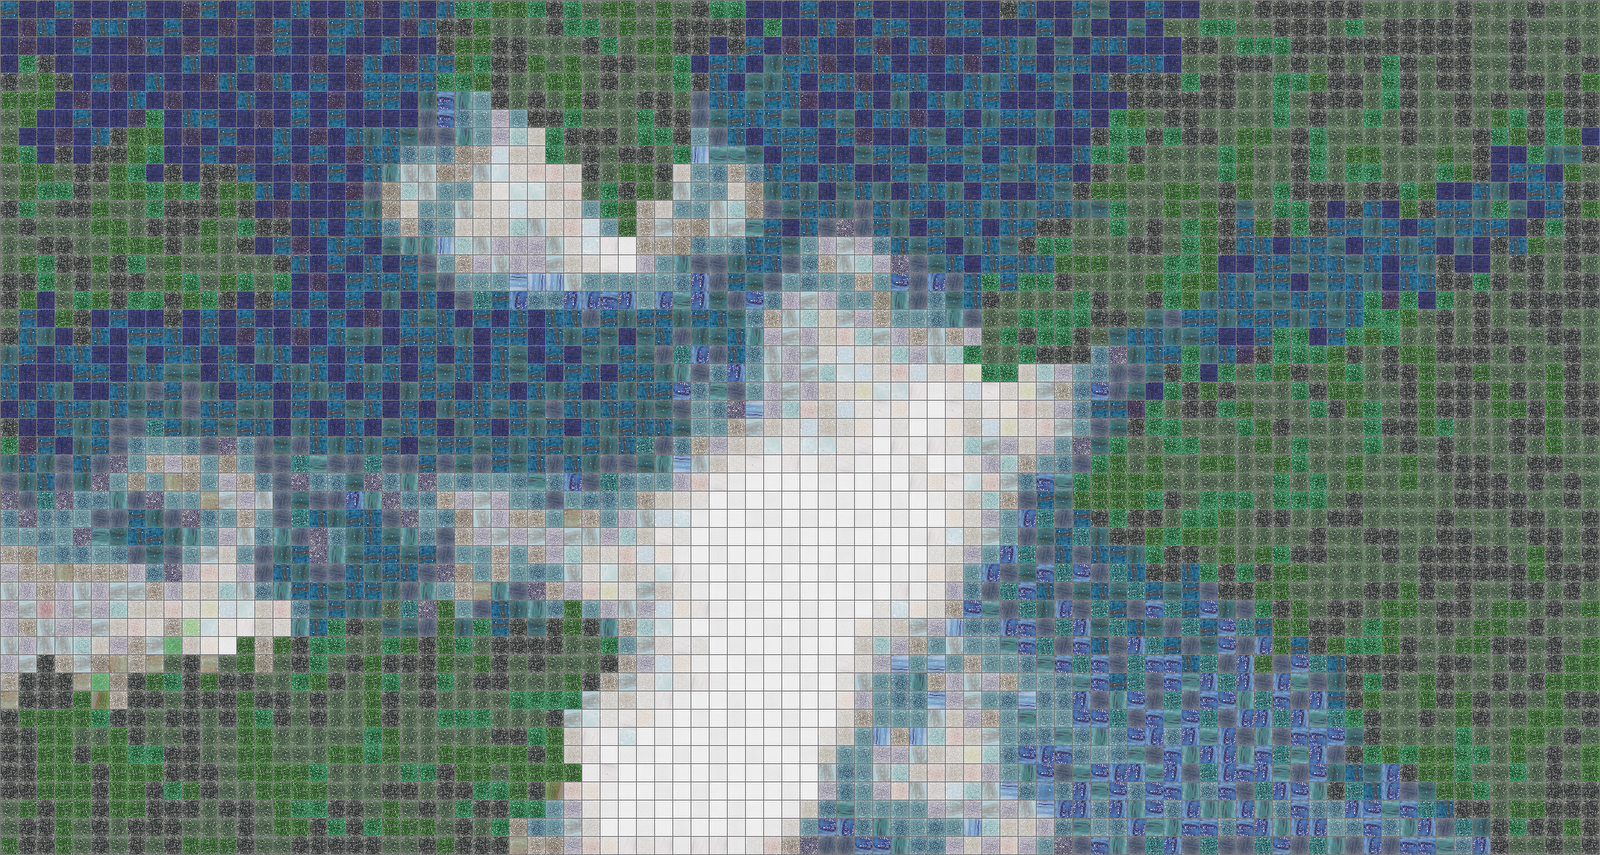
Eitz Hadar Woodworks is announcing its new Collabori line of coffee tables. These solid hardwood tables feature wedged through-tenons, hand carved edge details, and beautiful, durable mosaic tile tops designed and manufactured by Artaic.

Collabori means “collaborate” in Italian, and these tables are the product of a chance meeting of two former MIT alumnae at a New York City trade show. Eitz Hadar Woodworks is a Brooklyn-based company where Yitz Finch designs and produces custom hardwood furniture. Artaic, located in Boston, is a full-service provider of custom mosaic projects, from concept through installation. Together, these companies produce beautiful and functional furnishings for homes or offices.

Collabori tables are available in a variety of hardwoods and currently offered in two sizes: 36 inches square and 48 by 29 inches. For the mosaic top, customers may choose from several stock patterns, which can be color-matched to your décor. Clients can also collaborate with talented designers at both companies to create completely original pieces.

To place an order, or for more information, visit the Eitz Hadar Woodworks web site at www.EitzHadar.com or email Yitz Finch directly at yitz@eitzhadar.com.

For more information about Artaic tile mosaics, visit their website at www.artaic.com, or email Paul Reiss at preiss@artaic.com.


(click images to enlarge)

Monday, August 10, 2009

Those Gorillas Broke My Leg!

Welcome back to the second installment describing the goings on in my shop! Okay, so the first myth I busted is "I'm going to post once a week!" It's been a while since my last post; where do you folks find the time?

A little background
: I designed and built a solid cherry lectern back in 2005 while renting time in a furniture maker's shop in San Francisco. When it was time to move to New York City, I paid a packing company a couple hundred bucks to build a custom cardboard moving crate for my beloved piece. When it was shipped to NYC, it went straight into storage, unopened. Sound ominous yet?


About 2 years later, I needed to display the piece in an art show in Long Island, so off to the storage locker I went to retrieve my two-hundred-dollar box. A shop-mate helped me unpack, and was the first to notice something was amiss. One of the legs appeared to be severely cracked - uh oh.

On closer inspection, the leg was shattered.
As far as I can tell, those gorillas at the shipping place must have dropped the piece and snapped off a leg. They super-glued the pieces together, packed it up, and shipped it to me. Keep in mind that this is a one and a quarter inch square piece of solid cherry hardwood. Aggghh! The photo below shows that damage as I found it.


What follows is a step-by-step description of the repair. If you enjoy it, please let me know!

1) First, the shattered pieces are glued back together as close as possible to the correct alignment. The repair is still ugly at this point. A board screwed to the ends of the legs holds the end of the broken leg in the right position while the glue sets. Any orthopedic surgeons out there that can give me the technical name for this procedure?


2) I decided to splice in a piece of cherry, spanning the break. The splice replaces the splintered wood and gives the leg structural strength. In the photo below, I've built a fixture to guide my Bosch plunge router (a cool tool!) and clamped it to the side of the lectern. At this point, the cracked wood has been removed with a spiral bit.


3) The ends of the hole are squared up using a chisel. A block of cherry is carefully cut to fit snugly in the recess and gently tapped into place with glue. The block is left a little proud of the leg and a couple of wedges fill in a couple of missing slivers of wood.


4) The block and wedges are leveled with the rest of the leg using handplanes, scrapers, and sanding blocks. In the first picture, you can see a long skinny piece which broke off. That is the leg's outside corner and the reason the repaired area is so long.


5) Several coats of sealer and polyurethane are wiped on to match the original finish. This piece is natural cherry, so no color matching was required for this repair.


6) A close up of the repair, with slightly different lighting. It's not exactly invisible, but it's appearance is certainly not jarring. People rarely notice it if they don't know it's there.


Overall, I'd say this repair was a success, and a furniture tragedy was averted. So now, my cherry lectern is back in storage and ready for the next display. Click here to see a professional photo of this piece on my website.

Thursday, June 18, 2009

Welcome to the Blogosphere, Yitz

Okay Cyber-World, this is my first foray into the world of blogs. My first entry is a quickie, just to give me a feel for posting, uploading pictures and the like. Future entries, I hope, will discuss mostly what's going on in the shop. I hope to document the design and construction of new pieces, or other goings on, with lots of photos and a few words. Who knows where this will go? Exciting isn't it?

So, this first post is really about repairing my Japanese-inspired Shoji Screen. I designed and built this a while back as a display piece and have been moving it between my shop, displays, and my storage locker. The last move didn't go so well.

So, who's bright idea was it to make a shoji screen anyway? I guess I have to fess up - it was mine. Shoji screen paper is surprisingly sturdy, but can't resist a table leg being thrust through it. So, I have to get my display piece ready for an exhibit next week.

1) Here's the damage - a 4-inch-long gash. Like I said, modern shoji paper is sturdy stuff and is a great material for decorating. However, you can't always expect it to stand up to lummoxes like me.


2) Since this screen design includes a grill on the front, I can get away with just replacing one section of the paper, and not the whole panel. The damaged section is removed and the old paper and glue is cleaned from the wood.


3) A new piece of paper is cut to size and glued into place. The mullion strips are replaced. Even on the back, the repair is hard to see.


4) Ta-da! The repair is invisible from the front! Whew, glad that's over. I guess I have to make an armored box to store and transport this thing to shows - just one more thing on my to do list.


You can view the screen, along with the rest of my portfolio, on-line here at EitzHadar.com. Thanks for stopping by! I'd love to hear from you. Please check back often for new content!

So, how'd I do for a first timer?